If I were to lose access to the entire internet for the rest of my life, one of the websites I would miss the most would have to be Wikipedia. Wikipedia has ended countless arguments, informed me of how old and single some of my favorite actresses are, and helped me brush up on thousands of historical topics.
It's also the sixth most popular website globally.
So, what if there was a zombie apocalypse or the internet crashed, taking down Wikipedia forever? Or less dramatically, maybe you're doing some research for a last minute paper and your connection goes down. It's happened to me thousands of times.
What could fix this issue? Having access to nearly all of Wikipedia's articles offline.

There are a couple of ways you could do this, and I'll be showing you how to do it with ZIM files via Kiwix (Mac, Windows, Linux), by downloading XML files directly from Wikipedia, and reading XML files with WikiTaxi (Windows).
Method #1: Kiwix
Kiwix is an offline reader that allows you to download the entire Wikipedia library (over 9 gigabytes) as seen in January 2012. Since that's a lot of content, there are no photos included. If you're looking for pictures too, you can get a smaller (and older) backup with files dating from 2010 and earlier, though, that's only 45,000 pages.
Downloading Kiwix for Offline Wikipedia Reading
To install Kiwix, choose your operating system below.
NOTE: I chose Mac, but if you're using Windows, you can also skip the above download and go straight to downloading one of the portable pre-indexed ZIMs, which already includes the Wikipedia database of your choice and makes searching for articles easier right off the bat.
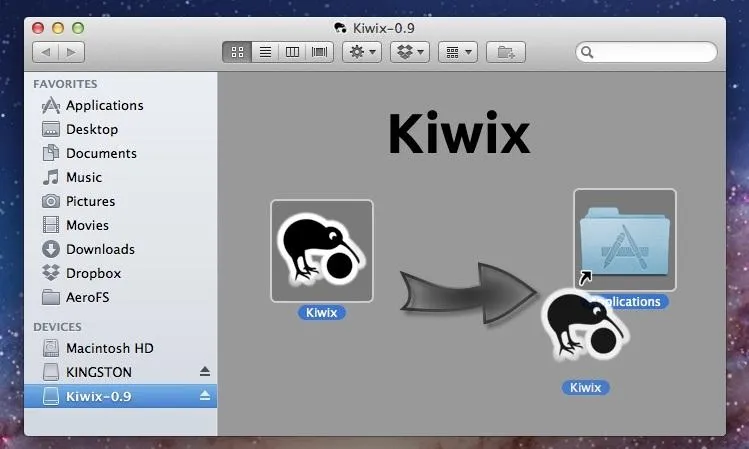
Once it's downloaded, go ahead and drag Kiwix into your Applications folder and open it up.
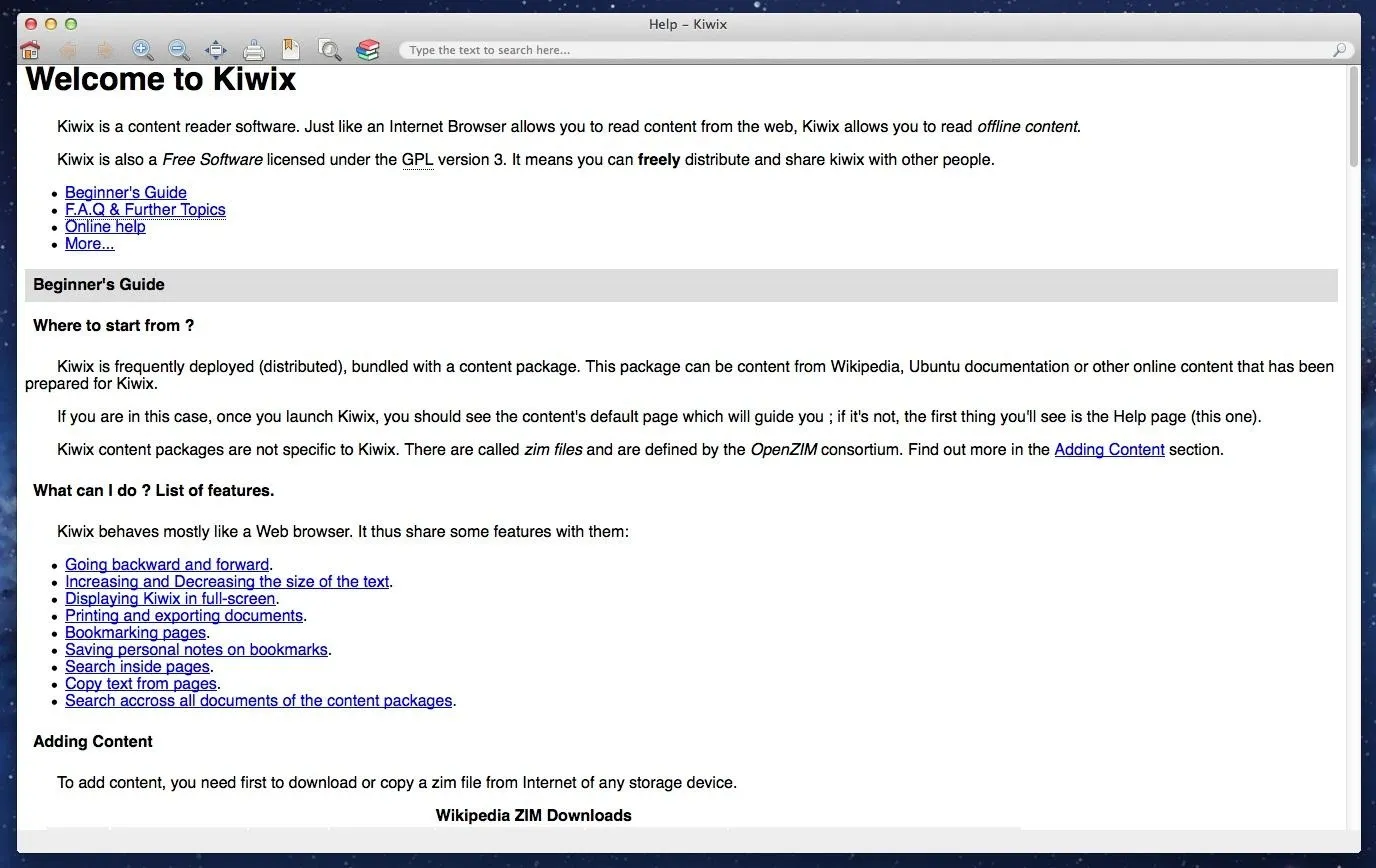
Unless you have Windows and downloaded one of the pre-indexed ZIMs, your Kiwix will be empty right now, and you'll automatically land on the help page in the app.
So, now it's time to get some Wikipedia content on there.
Downloading the Appropriate ZIM File
Again, if you have Windows and chose to install one of the portable pre-indexed ZIM files, you're good to go already. If not, you'll have to download the Wikipedia library you want. If you scroll down the help page in Kiwix, you can find the download links for the different libraries and languages that Wikipedia has to offer. Alternatively, you can download the ZIM files right from Kiwix's website.
I chose the English Jan-2012 version without pics, which is a hefty 9.7 GBs. Be prepared for a long wait, because 9.7 GBs can take some time to download.
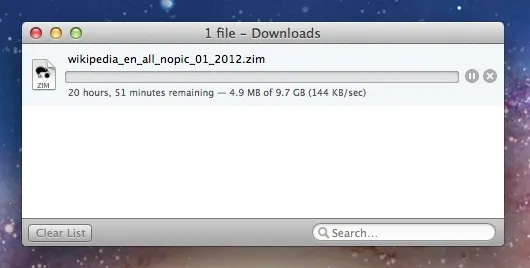
Once the library of your choice is downloaded, you'll have to import it into Kiwix.
Importing and Indexing Your ZIM File
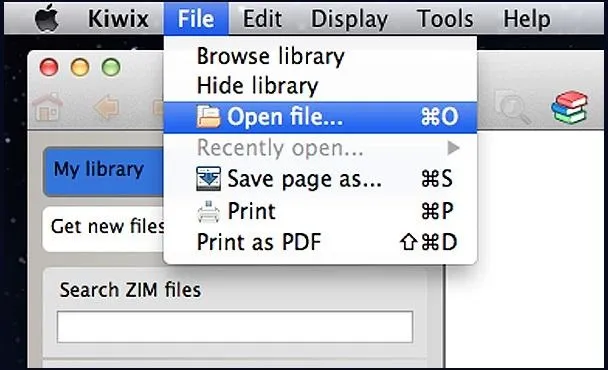
Just go to File -> Open file... and select the ZIM you just downloaded.
It will then ask you if you want to index the ZIM file. Click on OK, but this will also take some time to process.
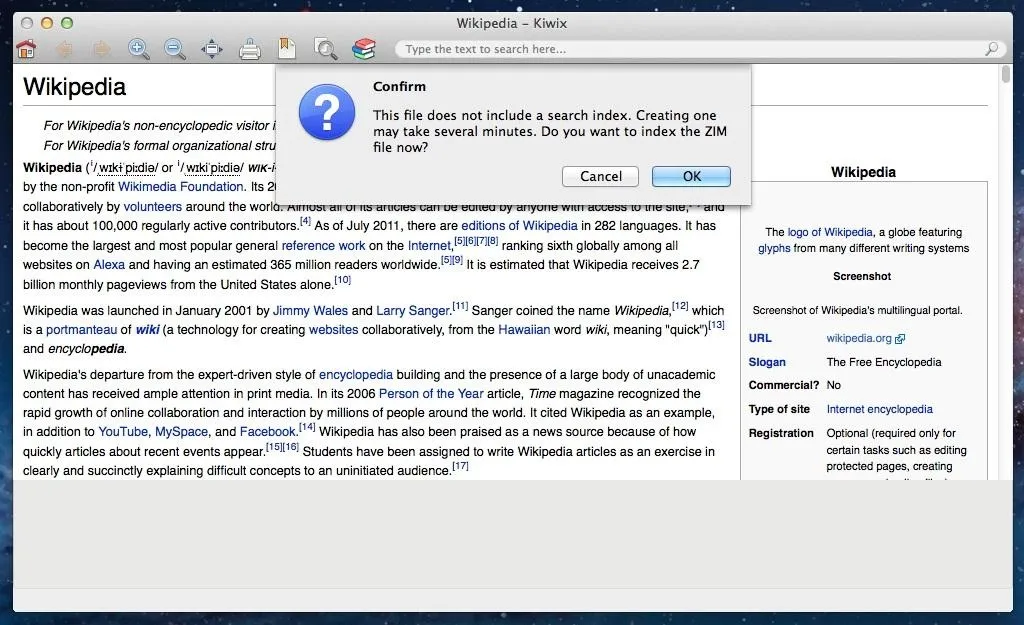
If you have Windows and chose one of the pre-indexed downloads, consider yourself lucky, because it took my MacBook Pro pretty much a full day to index the file! So, again... be prepared to wait this process out, but don't skip it altogether, because you need to index in order to search the ZIM file.
Using Kiwix for Offline Wikipedia-Ing!
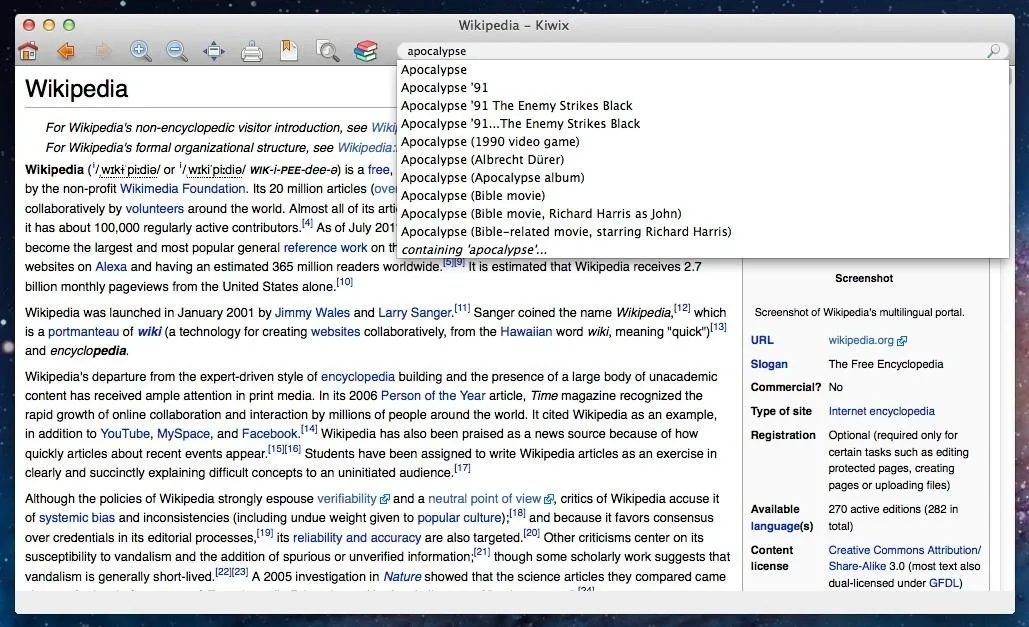
After it's done, you can search just as you would on Wikipedia.
You can choose to download the files directly from the Wikimedia server, or as a torrent if you prefer. They will be downloaded in a .zip file, though, so make sure you have a program that can extract them once you're finished.
Method #2: Downloading Straight from Wikipedia
Looking for a more up-to-date dump? You can get the latest version directly from Wikipedia. The suggested method would be to download one of the Wikipedia dumps via a torrent due to the massive file sizes. You can find all of the latest unofficial data dump torrent links here, which date from April of this year all the way back to 2006.
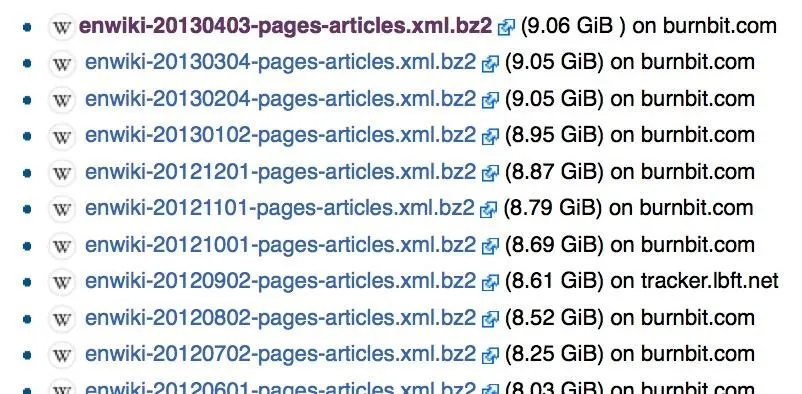
Make sure the dump you are downloading is correct. It should end in pages-articles.xml.bz2. If you downloaded something else, you will have an extremely hard time tying to find a program that can open the file. Avoid any dump that ends with something other than pages-articles.xml.bz2.

This time, I chose Feb-2013, which is over 9 GBs, and it actually took way longer than that to download, just like the Kiwix version did.
Converting the Files
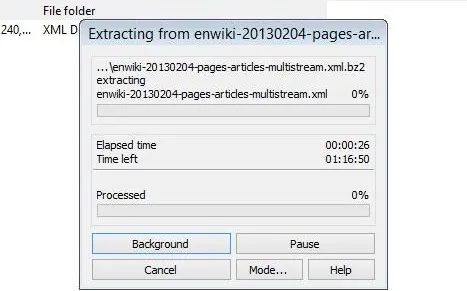
You can try and use the native archive utility on your computer, but I ran into some issues with the bz2 file. I used a program called iExpander and it worked perfectly on my Mac.
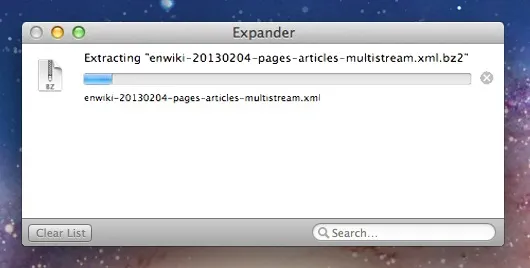
On my Windows machine, I just used WinRaR.
Opening the XML File
Now, here is where things got a little dicey. I ran into some problems trying to open the XML files on my Mac. You can technically "open" the files by using Safari. Just right-click on the XML dump and chose Open With Safari. Since it's loading a nearly 10 GBs of data, it may take a while.
Eventually you will see something that looks like this:
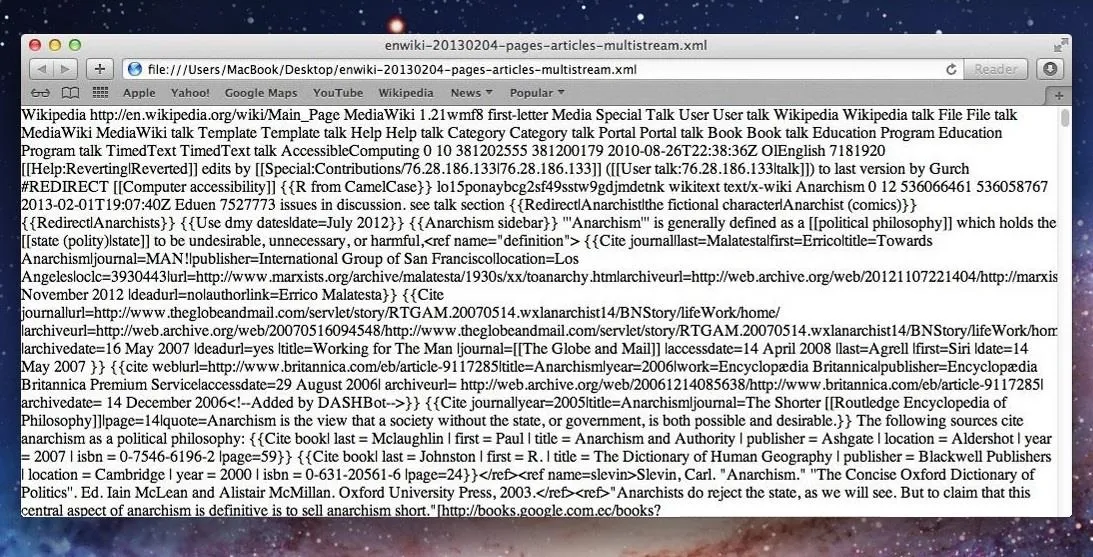
This is the entire Wikipedia dump with all of its tags and an under-appreciation for spaces. Obviously this is nearly impossible to read, but it may suffice for those with tons of patience and really good eyesight.
Method #3: Reading XML Files with WikiTaxi
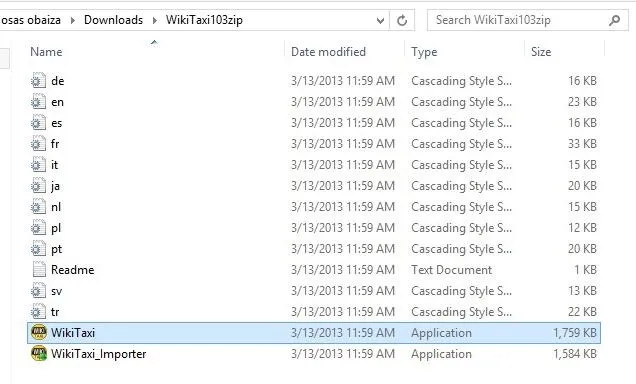
For you Mac users, Kiwix is your best bet for a stress-free download and browse process. If you're on Windows, you can use Wiki Taxi. Just download and extract the program, then open up the folder and click on WikiTaxi.
You will then be taken to another window that helps explain (poorly) how WikiTaxi will work.
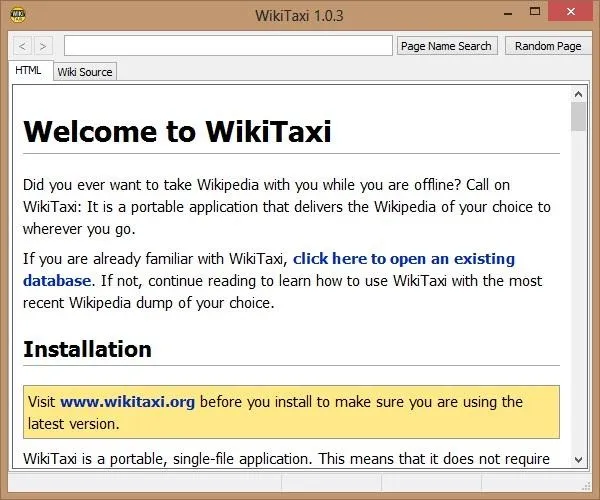
You can go ahead and read through or just skip down to the section that says Import the XML dump into a WikiTaxi database.
Importing XML into WikiTaxi
If you downloaded WikiTaxi before you grabbed a dump from Wikipedia, they do provide some of the most popular dumps directly in the program.
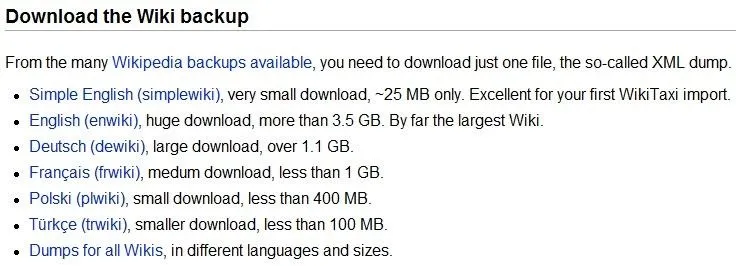
If you want to try out the entire process, I would suggest downloading the Simple English Wiki, since it will only take a few minutes to download to your computer.
After your selected dump is finished downloading (make sure to save it somewhere you can find it), you can go back to the WikiTaxi folder and select the WikiTaxi Importer.
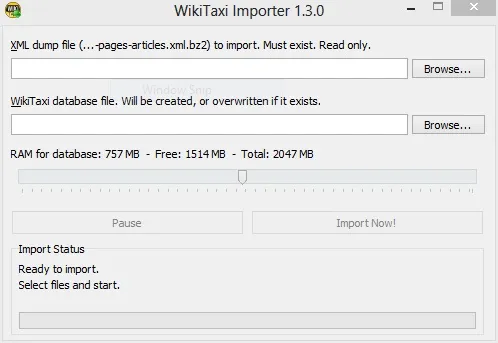
It will ask you to find the dump file and the database file for the Wikipedia file you have downloaded. Browse your computer and locate the dump you just saved to your computer. It should load into that top section.
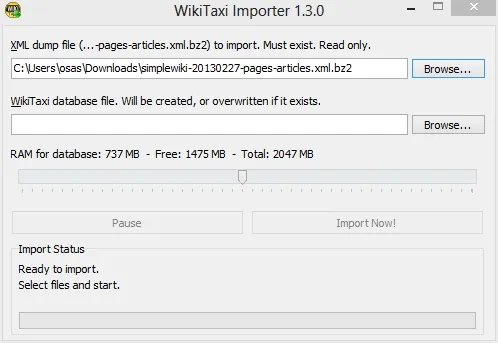
Now for database, the walkthrough does not tell you how to designate this. All you're really doing is selecting a place for WikiTaxi to place and later locate the Wikipedia information. Simply browse through your computer and find a place where you wish the database file to exist. I just chose my desktop.
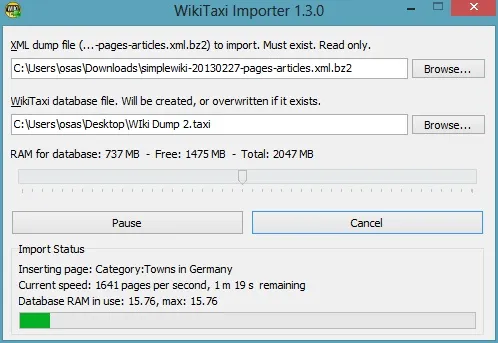
Make sure you name the file or you will not be able to save the location and import. I named mine Wiki Dump 2, but it should have been named Wiki Dump 8, because that's how many times it took for me to get it all right!
We are almost there. The finished dump is now saved to my desktop and has a .taxi extension. You can now go back to the WikiTaxi Folder and run the item labeled WikiTaxi. It should be the exact same page that opened when you first downloaded the program.
In the top right corner, you will see an option tab. Click on this and scroll down to Open .taxi Database.
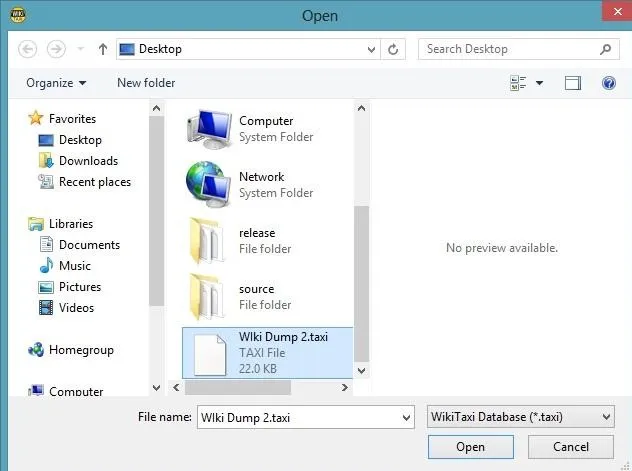
Select your saved database and voilà! You now have access to Wikipedia's library of articles.
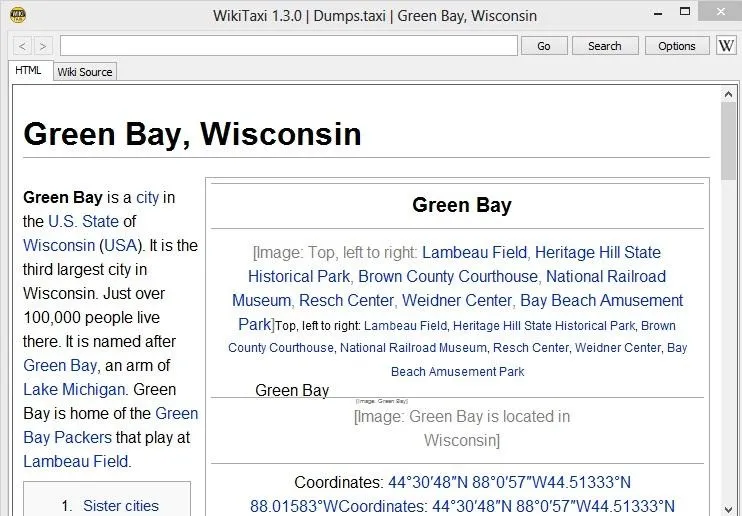
The links to other Wikipedia articles will work regardless of your internet connection, and the search function works great as well.

Having offline access to Wikipedia is absolutely wonderful to have. It gives you access to thousands of articles and information that you can read anytime, and you never know when you might need it. Plus ladies love a brainy man.
So bring on the zombies, I'll be fine.
Photo by Rob Matthews


Comments
No Comments Exist
Be the first, drop a comment!